Posted by dravon in LiveJournal, Project Review | Comments Off on 6-Minute Circle Quilted Potholders
6-Minute Circle Quilted Potholders
Yet another class taken at Quilt Emporium, this one was called 6-Minute Circle and it was taught by Shirley Vangerov. Shirley taught from the book by Dale Fleming called Pieced Curves So Simple. I’m definitely going to be getting this book!!
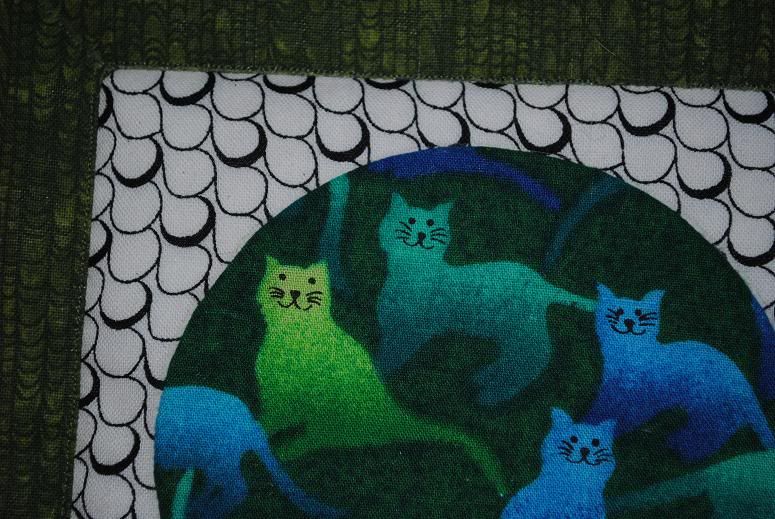
It was a 2 hour class, and completely and totally worth the time and the money. Shirley taught the process very nicely, making it quick and easy to understand. I loved her focus on the technique, giving us a very simple little project (potholder) so that we can practice the process and end up with something useful. I walked out of the class with the face of this first potholder.
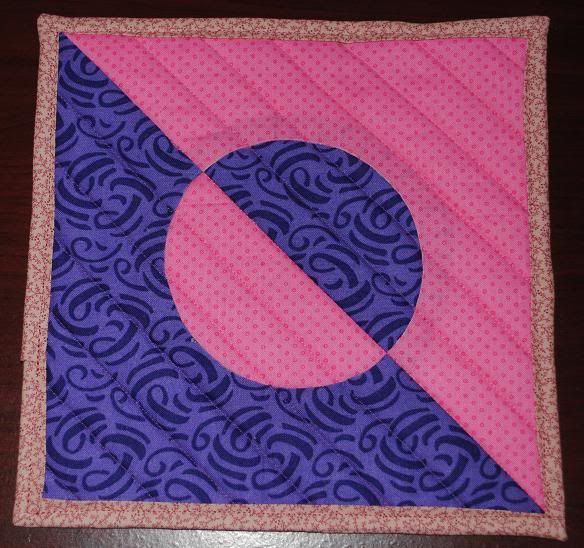
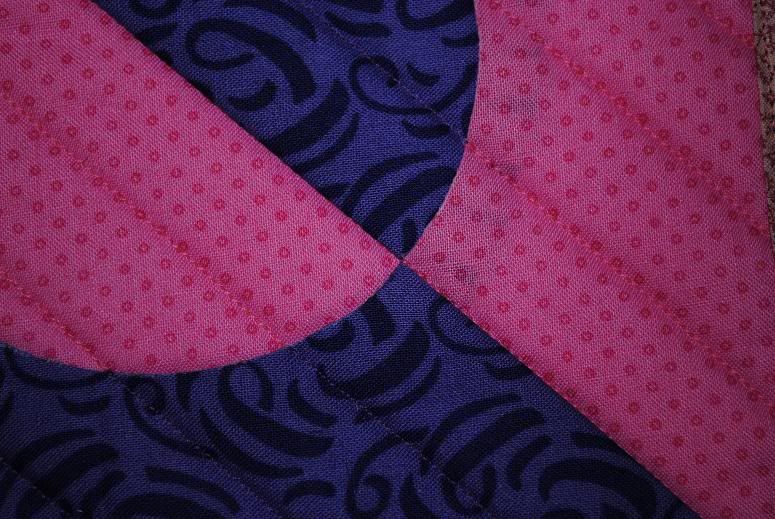
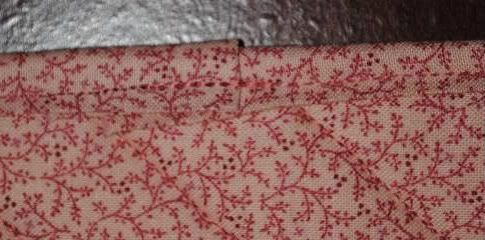
I used 2 layers of cotton batting, since I only had a low-loft cotton batting and I really didn’t want to use the high loft polyester batting in a pot holder — the polyester would likely melt. Ick! I opted for a very basic and straight forward quilting pattern, basically just echoing the diagonal there. I did have fun matching the thread — pink thread on the pink and purple thread on the purple. That meant I had to stop sewing on the circle, and then go back with the matching thread to do the quilting line there. There’s only one place where I didn’t quite get the matching lines, but overall it’s invisible that I stopped/started at each color change point. I was particularly thrilled with the precision stitching I was able to execute along that primary purple/pink division, using pink thread and hugging the pink side of the line. There was only one small place where I hiccupped and got roughly 3 stitches of pink onto the purple. I left them there as a reminder to myself that more precision is required.
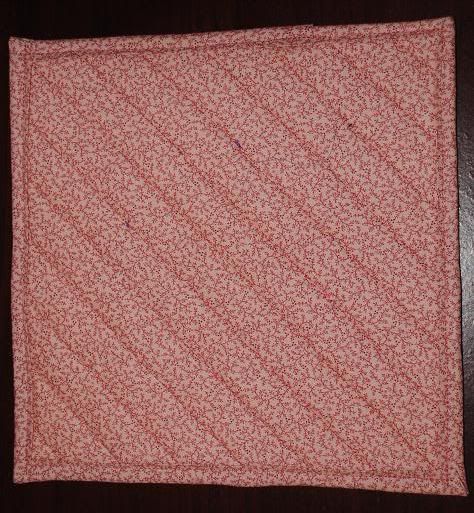
The backside is very basic, and I liked using the background material as the binding — makes for a nice contrast on the front and a tie-in on the back.
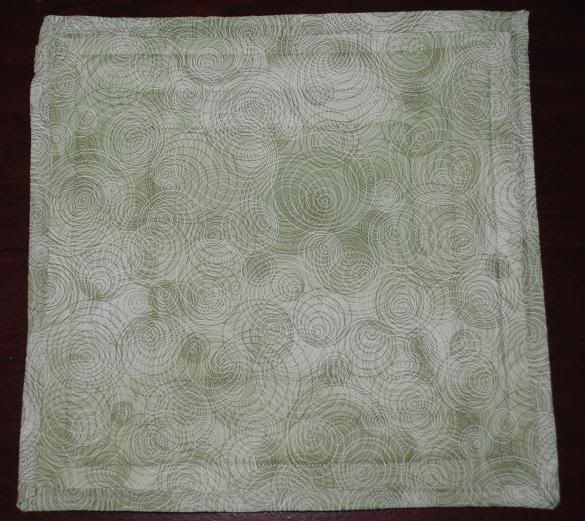
While the class was AWESOME, I took the opportunity to flip through the book, wondering how I’d do non-circle shapes. I found it that I them the exact same way! There were slightly different considerations depending on the shape, but basically the exact same steps. Shirley gave us the material to make our very first circle with, before we switched to using our own material. The pink/purple is my own material, but I had another circle which we created in class. I wanted to know how the process would work if I used another shape. For the first attempt, I used a very basic square, wondering how the corners of the square would turn out. Here’s what I did with the first teacher-provided-material-for-the-circle practice piece.
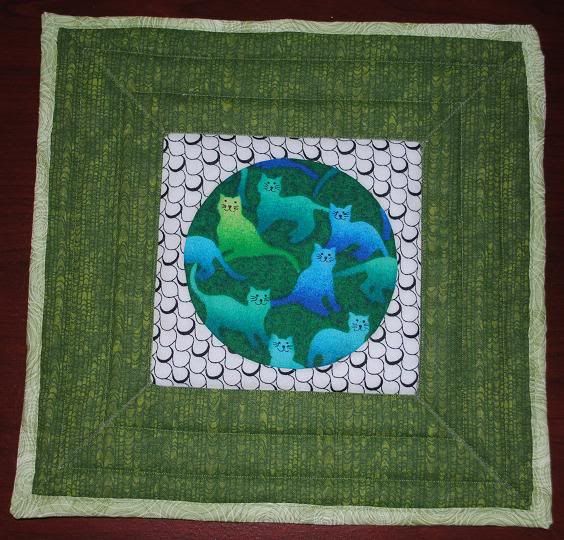
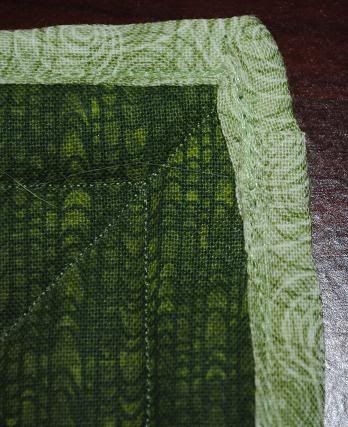
As you can see in the close-up below, the corners of the squares are very neat and tidy. I was also extremely pleased with the overall precision sewing that I did right along the edges of the square. Again, there’s only one tiny place where 3 or 4 green stitches dip down into the black/white background. Again, I left them to forever taunt me and remind me there’s still more improvement to go. Had this been a real project, for someone else, I would most definitely have ripped out the offending stitches and fixed them. *lol* Which reminds me of something that Shirley would mention in class: “The Type A [personality] wants this perfect…” I’ll have to remember to actively invoke my Type A when I’m sewing. hehe
This quilting for this one is also very basic and straightforward, echoing the theme of the set-in square. I’ll be avoiding free-motion stitching for a while until I’ve had a lot more practice. I took the Machine Quilting class taught by Sue Rasmussen also at Quilt Emporium. I learned a WHOLE LOT and she’s my new idol in terms of educated sewing and skill building, but I also learned that I need a looooot of practice before I try to put something free-hand into quilt format on some project. Made me very glad that the quilt design which sprang to mind as appropriate for both of these potholders were straight lines!
Now onto the second set of experiments which were conducted by the creation of this project — binding attachment techniques. I tried yet again to use the adjustable binding foot, but yet again I was foiled! This time, I was foiled because the potholders were just too darn fat to fit into the channel that the foot could accomdate. Bummer!!
For the first one which was bound, I tried pinning it. Yuck. The pinnning just wasn’t working out, and then I remembered that in the class Shirley had us literally glueing down the fabric until it could be pinned. Heck, why not try glueing the binding into place rather than pinning it? The green one was done this way. You can see from above, that the square shape of the potholder wasn’t preserved all that well by this process. In fact, the pretty square that it originally started out as is largely lost by the time the binding was attached completely. Yuck! In addition, there were places where the binding bunched up as I was sewing it, or where the glue let the binding slip. Anyway, here’s is the ugliest section of the binding seen from the front side.
Eeew! Clearly I have a lot more to learn when it comes to putting on binding simply, quickly and NEATLY. The back is marginally better looking than the front, but … still. Yuck. I decided that I didn’t particularly care for the Elmer’s glue tacking process.
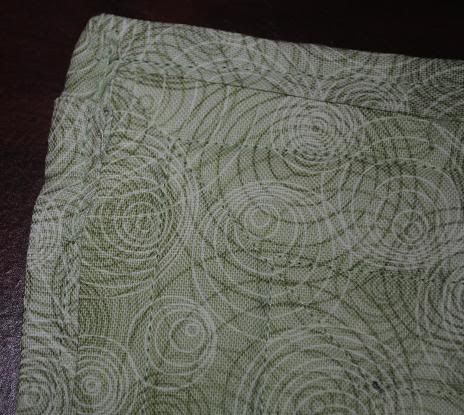
The second attempt was using the Steam-A-Seam 1/4″ iron-on thing. I’ve had it for a long time, but just never really used it. Chicken I guess. I remembered that and remembered watching some of the instructional videos I have in which the teacher RAVED over this stuff. I broke it out, opened it up and used that. Wow. Easy-peasy and you can tell from the whole picture above that the potholder still looks like a square! In addition, it was easy to sew and I didn’t have the same problem of the material bunching up under the foot – even though both bindings were the exact same size and made the exact same way.
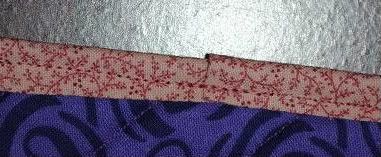
The connection point where the binding ends were overlapped was also tremedously neater, though it could have been done better. Really, I wanted to sew the 2 strips together once I knew the exact sizing but I’d made the mistake of steaming the ends down at the beginning, meaning I’d have to rip it up if I wanted to sew the ends. Besides, the binding was so slender and the area to work in was small that doing so on this learning project was just not worth the hassel. On a real project or gift, I’d be sure to do better.
I was also able to get the depth of the border on both sides much more even using the Steam-A-Seam than I was with the glue. It was neater, faster, more precise and easier than any other method I’ve tried including hand basting (next best option, but slow), pinning (imprecise and sloppy and slow), and glueing (messy and sloppy but reasonably fast).
So those are the new potholders added to the household stash. I’m really looking forward to trying this piecing technique on other shapes. I’m thinking I’ll incorporate that practice into more of the placemats for the Meals-On-Wheels program that the SFVQA sponsors.
I must say, I’m really having fun experimenting with new techniques and approaches to things, finding out what works best for me. It’s like I’ve suddenly given myself permission to utterly screw up as long as I learn stuff from it. The level of anxiety attached to sewing as gone down as a result of the new attitude of playing with fabric, and learning how I work. It’s been quite an interesting past few months!


