Posted by dravon in LiveJournal, Project Review | 10 Comments
French Braid Halloween Table Runner

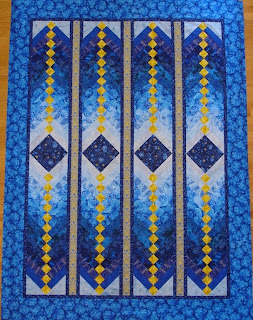
Last week I took another class at Quilt Emporium. This one was on the quilting block pattern called a French Braid. This is an image of a quilt from the Fabric Cupboard’s blogspot page:
I decided to take this class because it would directly challenge what I consider to be a weak spot — color co-ordination in design. Since the class at Quilt Emporium was only going to be 2 hours long, I opted for the smaller table runner and decided to go with 10 different fabrics plus a central and accent color.
Having little faith in myself, I left the purchasing of the fabric until the absolute last minute. We also got our new hot tub installed on the same day as the class. The class was at 2, I was hoping to leave around 12 to leave myself an hour to pick out fabric, and the spa was delivered at 11. Oops. I didn’t leave the house until 1, and it takes me about 45 minutes to get to the Quilt Emporium via surface streets. I hightailed it to Candy’s Quiltworks, which is not too far from me and she has a HUGE fabric selection. On the way there, an idea came into my head for what I wanted to do with this project. I already knew I wanted to do a Halloween theme, but was stuck thinking in the white-to-dark paradigm. The idea that hit me was to use oranges and blacks, graduating from the most orange/least black to the most black/least orange.
When I got to Candy’s, she had enough different Halloween materials that I was able to actual get 10 different fabrics that would work for me. yay! I walked out of the shop feeling far more confident in my design eye than I ever have before. I guess from that perspective alone, this class was a huge winner for me. I was also the only one who decided to go with a non-white/off-white foundation as the light color. In addition, I was the only one who used the same fabric for the center square as well as the little accent squares running down the material. It was also the only non-floral material in the class. heh. Guess I like being wierd, eh?
Here’s the fully pieced topper:
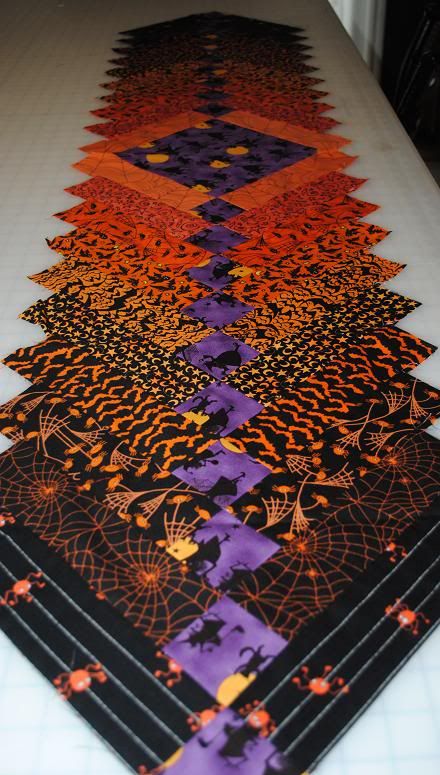
Ironically, since I had JUST purchased the fabric but hadn’t cut any of it, I was honestly not expecting to get to actually sewing anything in the 2 hour class time alotted. Boy was I off the mark! Not only did I cut out all the strips, but Lisa (the shop owner) loaned me her machine and I able to actually sew together the entire topper while in the class. I was totally thrilled by that.
I asked Lisa for some backing and bordering suggestions, and what we found there was beautiful. The other women in the class or in the store as I was checking out where like “wow! the entire thing finished…” and remarked that I guess I must be fast. Lisa commented that I was extremely focused while working on something. That made sense. That focus is partly why I’m not particularly welcome at stitch-n-bitches. I do more stitching and almost no bitching. heh.
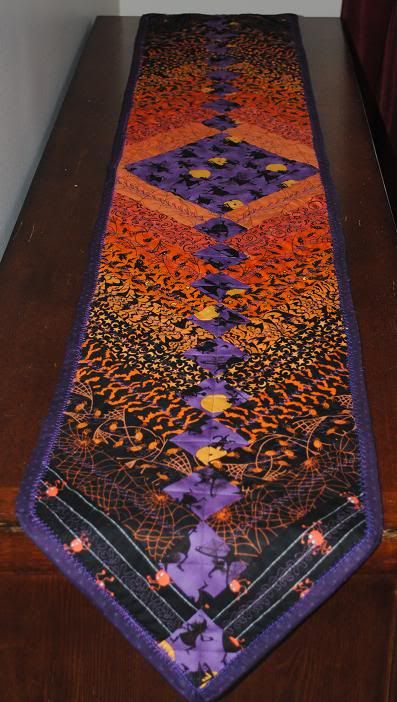
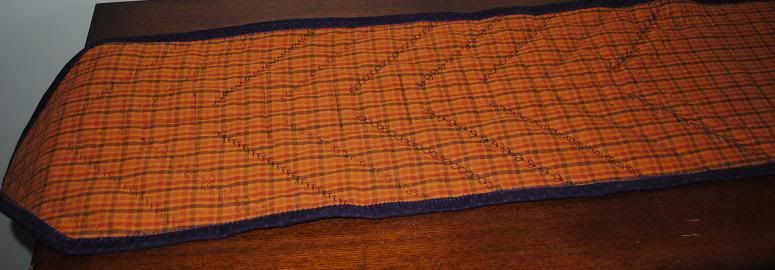
Anyway, the next step, once I got home was to square up the topper and then trim it down to the finished size. Here it is all trimmd and ready for the quilting part to be done.

I wasn’t sure that the walking foot would be able to handle all the various stitches in my machine, and since I really had no idea how else to quilt this thing without doing a lot of boring stitching-in-the-ditch, I decided to put a row of decorative stitches down the center of each braid. Each material type framing the accent block got the same stitch, but that’s still 20 different stitch types. Some of them worked out better than others, with the omnimotion stitches being the ones that were most troublesome. Still, the walking foot had no problem handling the stitches and the material — it was more the operator that had trouble on some. heh.
I tried using the new adjustable binder foot on this project. I ended up having to rip that off and redo the whole thing. Bummer. The foot worked great, but I was trying to put a 3/4″ binding onto the 1/4″ edge of the runner, leaving 1/2″ within the binding free. This attempt made feeding everything into the footer in the precise manner required a bit too challenging. The moment one section missed the entire thing had to be taken apart and re-configured to try again. Too much hassle! At least now I know that when using the binding foot, the seam allowance and the binding width should be the same.
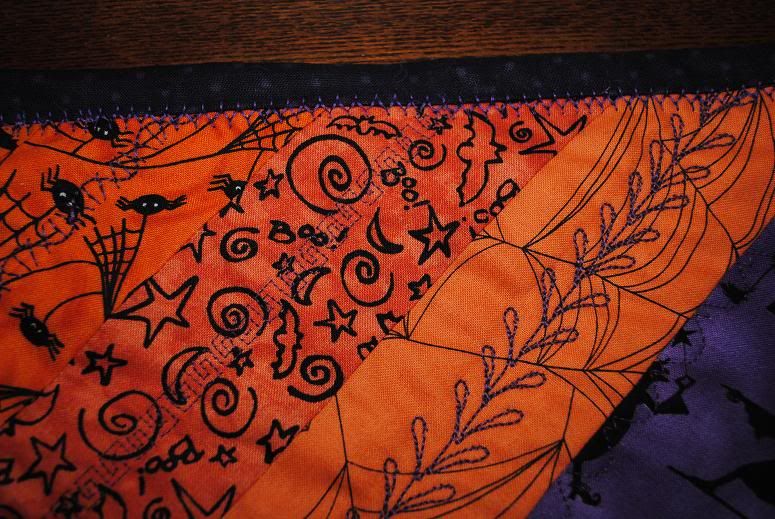
Here’s a detail shot of a few of the rows with the stitches. While I had loads of fun on this project and came to realize that my Eye isn’t really as bad as I thought it was, I’m not really thrilled with the end result. It’s on par with a craft project. The stitching is sloppy, the border stitching is REALLY sloppy, and I went through 3 different shades of purple because I’ll be damned if I’m going to Joanne’s on a weekend (nice excuse to be lazy and just use what I had to finish it up and get it out of the queu). I’m also really not thrilled with the quilting, but that was not the point of this project so I’m not too upset over it.
I do like the back material though. Overall, thrilled with the class, money well spent. Thrilled with the growing confidence in my skills, but not overly thrilled with the laziness I developed as the project went on. And it wasn’t even that long of a project! Learning how and when to use the adjustable binding foot is a plus as well. Next time!


I love the way the bright orange “fades” to the black X) the photo does a good job showing that off!
I love the way the bright orange “fades” to the black X) the photo does a good job showing that off!
I love the way the bright orange “fades” to the black X) the photo does a good job showing that off!
I love the way the bright orange “fades” to the black X) the photo does a good job showing that off!
I love the way the bright orange “fades” to the black X) the photo does a good job showing that off!
I love the way the bright orange “fades” to the black X) the photo does a good job showing that off!
I love the way the bright orange “fades” to the black X) the photo does a good job showing that off!
I love the way the bright orange “fades” to the black X) the photo does a good job showing that off!
I love the way the bright orange “fades” to the black X) the photo does a good job showing that off!
I love the way the bright orange “fades” to the black X) the photo does a good job showing that off!