Posted by dravon in LiveJournal, Project Review | Comments Off on SFVQA Quilt Block Party for Aug/Sept 2011
SFVQA Quilt Block Party for Aug/Sept 2011
This is the San Fernando Valley Quilt Association Block Party pattern for the August and September. You may remember last time was the liberty star which gave me fits and let me know that piecing was not as easy as it looked. This time, the pattern is an appliqued Forget-Me-Not from the old Mountain Mist patterns. When I got the instructions for the new block at the last meeting, I had just finished signing for the Beginning Applique class being held at Quilt Emporium. Talk about fortuitous timing!! I did the pillow, which post-mortem follows this one, using the needle turn technique which was taught in the class. Since I didn’t want to use the exact same technique over and over again, I decided that I’d use the block party to experiment with 2 other ways of making appliques.
First up was the very simple, VERY fast and precise method using double sided heat bond. I picked out my fabrics, cut the heat bond roughly the size I needed, then ironed the heat bond to the material. Then I traced the pattern onto the paper back of the heat bond and cut out all the pieces that I needed. using the method taught in the class about tracing the final pattern onto clear vinyl for easy placement, I then peeled off the heat bond backing, positioned the pieces and ironed it down. Easy, fast, precise.
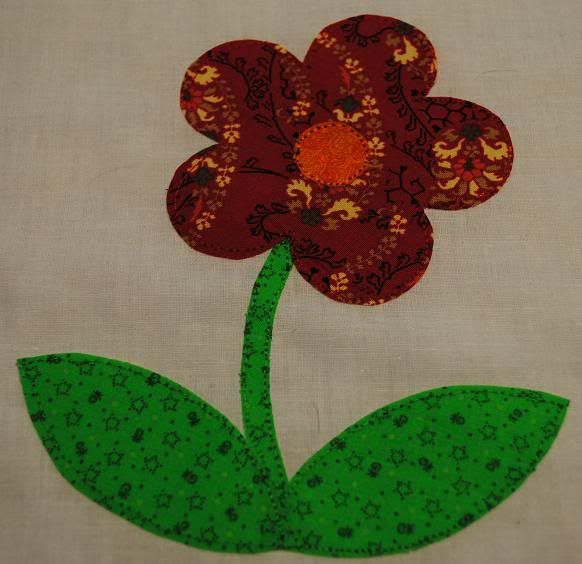
And boring looking. This particular pattern was way to complicated to even consider doing a satin stitch along the edging of the entire thing, so I decided I’d use this opportunity to work with my free motion quilting foot which requires that the machine’s feed dogs be disabled. I then did a simple straight stitch along the edge of each piece. Considering that the stitching is done without any quidance from the machine at all AND it’s my very very first time ever trying free motion stitching, I think it turned out pretty well. A couple of boo-boos, but nothing which distracts the eye from the overall piece. For the most part, the stitch length is fairly even which means that I was moving the material roughly the same amount between each stitch.
Overall, I’m thinking that I’d only use the heat bonding technique when precision matters. Maybe even for a background of a more complicated piece, which has more pieces stitched by hand on top. Seeing this in comparison to the look on the pillow (which is very imprecise and clearly the work of a beginner) as well as the look of the second sample, the heat bond method is just too sterile for me.
The second method I employed features a heat bond of the material onto the batting of choice. In this case, I’m using the low loft Quilter’s Dream cotton. Step one was to set one side of the heat bond to the batting. Then I copied the template pieces onto the batting and cut them out. From there, I peeled off the paper backing and heat bonded my pattern pieces onto the material of choice. When I cut out the material, I made sure to leave at least 1/4″ to 1/2″ for my seam allowance. Then I hand tacked all of the seam allowances down to the back side of the pattern, giving me pretty finished pieces which then needed to be placed. Those inner flower petal turns were quite a challenge!
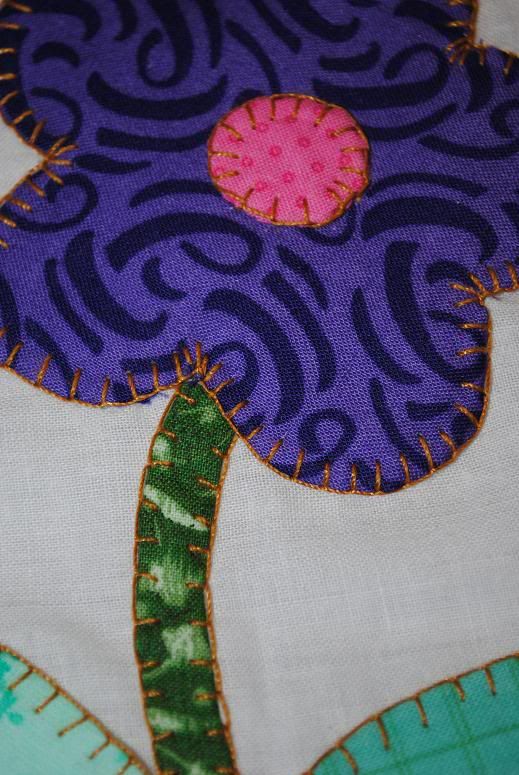
I wanted to try the blanket stitch look but I wanted it to stand out and be really obvious, making it look a bit folk arty. I decided to go for a harvest gold very heavy thread, which required using a tapestry needle to reliably work with it. From there, I blanket stitched each piece down in its proper location beginning from the underlayer and working my way up. This finished look is by FAR my favorite!
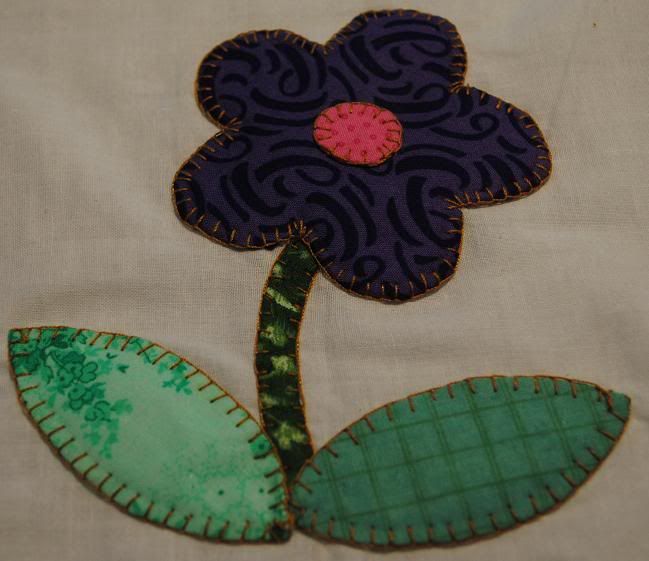
I also really like the look which the batting gave it. This allowed for more precision than I could get out of the fabric alone which was used in the pillow, but also gave it some texture both in stitch and pieces. It looks very much like a child’s thing, but still pretty and fun. Definitely my favorite! The fat thread and the blanket stitch also allowed for me to cover up an oddities which appeared while trying to turn the many curves, which often comes out lumpy. Look at the leaves in the pillow post-mortem to see what I’m referring to.
Overall, lots of fun but applique is not something that’s grabbing my attention and making me go “oooooo!” At least I know the techniques now and some of the ways it can be used. I do wonder about the history of applique….

