Posted by dravon in LiveJournal, Project Review | 2 Comments
PatternMaking II Kimono-style capelet
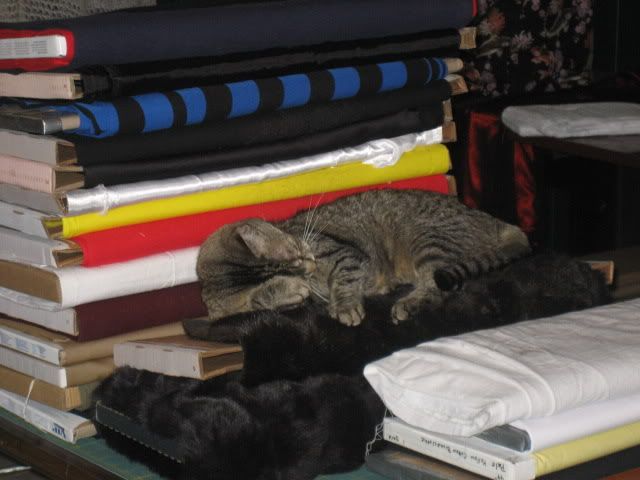
Shelby approves of the faux fur and other material I’m keeping.
This project was assigned in the pattern making class based off the kimono style shirt. The name does not refer to literally a Japanese kimono, but rather a shirt which does not have a shirtsleeve seam. Here’s an example of the kimono style top:

In this version, I removed the undersleeve and made the cape a half-circle. The basic material is black wool, though it’s a low grade craft wool. One of the critiques the teacher had was the wool was not stretched before I cut the material, so the half-circle was already starting to distort a little bit. Lesson learned on that one! My goal with this project was actually two fold:
(1) work with the faux mink that I’d been carting around for a decade
(2) get some experience with soutaching
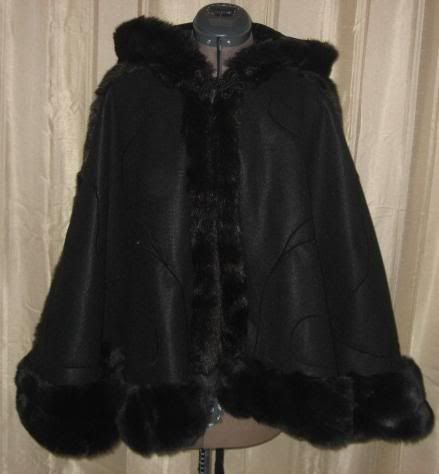
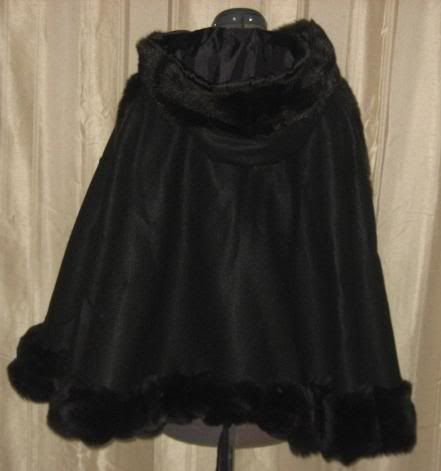
Because our jacket, as part of the assignment, had to include a hood, I decided I’d fur line the hood edge, front, bottom edge and along the top line of the sleeves. Of course, I only had 1 yard of dark brown faux mink, about 1/3 yard not enough. And, of course, I couldn’t find any more of the same color so I had to get black. Thus, the body and the bottom edges don’t match in color. Below is the capelet with the hood down…
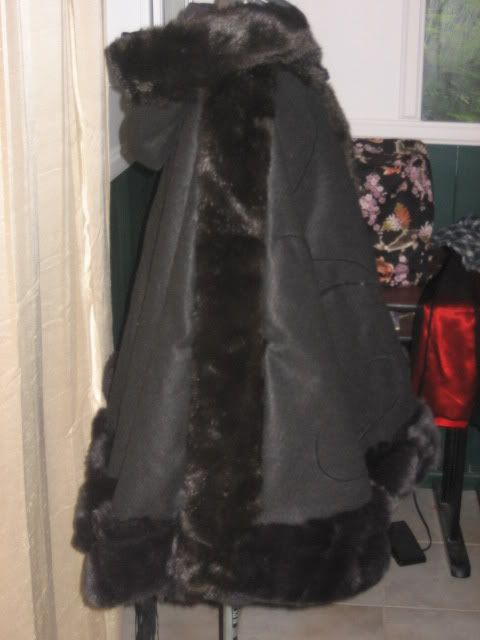
Here you can see the piping. I took the paper pattern, then drew a curving stick tree on it. Ideally, if I were to make this for real, each of the trees would represent a different season. As it was, I was doing well to get the tree outlines onto the 2 front panels. I marked the design with chalk, and you can see that chalk a bit on the below images. I used a simple whip stitch to attach the piping, though I choose poorly for the piping. I was really looking for a satin cord, but I wasn’t able to find that so I chose a velvet wrapped plastic cord. It looked good, but because I couldn’t hide the stitches, they were all visible and I didn’t like that.
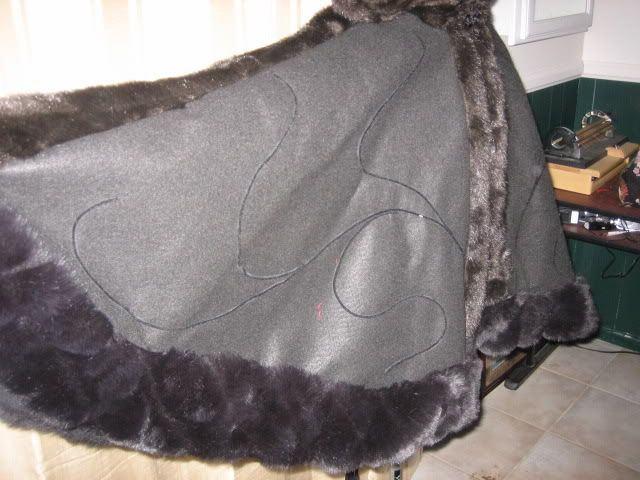
In the above picture, you can really see the color difference but interestingly enough most of the folks in class didn’t notice it until I pointed it out. One of the things I was aware of but had to discard for this particular project was the lay of the fur. Because the fur was very limited in quantity, I had to make due. That meant the grain was not always ideally placed. If this had been a real project, I would have spent the time to find more of the dark brown and made sure to get plenty of it so that I could get the nap correct.
Below you can see the fur stripe along the top sleeve line. Because of the nature of this pattern style, there is always a seam along the top line. I could have just put in a bland seam, but I wanted to try working the fur into the various parts of the garb. I learned that the faux fur is a MESS! I had tiny bits of fur all over EVERYTHING, and the cats managed to drag it all over the rest of the house so I’m still sweeping up black or dark brown bits of fur. After cutting out all the pieces, I finally figured out to cut this sort of fur without making a massive mess. Sewing it was easier than I expected though, but it would have gone a whole lot better had I done hand basting rather than simply pin-basting the heck out of it.
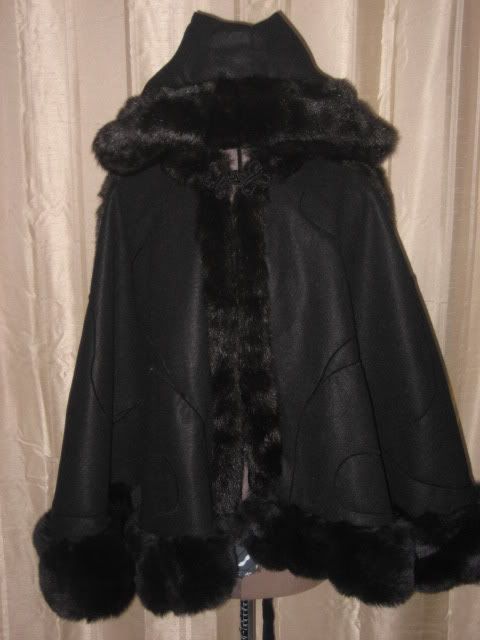
I used a frog at the center top as the closure, and I don’t think that was a wise choice. It messed up the lay of the fur. I should have used a hidden closure. I’ll keep that in mind when I do a fur edged coat in the future.
Another problem area was the seam edges between the lining and the fur. The fur was WAY thicker than the lining, so the lining gets pulled out of place. Had I known how to use stay stitching, I would have done so, but I think it also requires a bit of hand tacking to help keep the fur in place. It’s not like I could steam the hell out of it to make it stay. Overall, I think it turned out well and I had some practice doing the things I wanted to.


I like it! I can see where you have things you would probably do differently, but overall it is a very nice piece.
You have always been a good seamstress, so you’ve only gotten better. The cape is really pretty! I had a large bag of real rabbit fur and last year gave it to Goodwill in an effort to clean out a closet. I also gave away a LOT of material, of all types and many yards each. Too bad you aren’t close enough to give it to you. I’m still trying to learn how to use my serger! I just found a site with 2 DVDs on learning the serger, so there may be hope. I’d love to be able to finish the robe I’m making for Dad. I’m getting back into my sewing, but am finding it difficult to bend over and cut out a pattern. One problem is I use the DR table, but the pads keep scooting out from under my material. Ugh!