This project used Simplicity’s cloak pattern 5794 view C.
I make 2 of them, one of me and one for the Mister. Both cloaks would be made to the Large size, which was the largest that this pattern went.
My material I chose for my cloak for a black and white strangely checkered flannel, a black broadclothe lining, with a black polar fleece interlining. M’s cloak was to be a beige and brown plaid wool, with a tan broadclothe lining and a brown polar fleece interlining. The closure for my cloak would be a metal jeweled clasp while his would be a single frog. Rather than hemming, I opted for a bias tape finish along the bottom edge of the fashion fabric in a complimentary but not identical color.
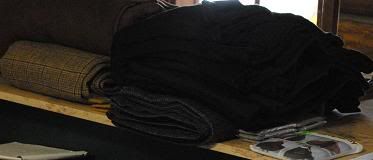
I think this was the first time I’ve actually used the entirety of the cutting table on a single project. Even as I was cutting it out, I was puzzled over the directions of cut 2 (in my case 3) of each piece and the lining pieces will be the same size as the fashion fabric pieces. If anyone has ever made lining for something and done just this, used the exact same size lining as shell, you’ll know this doesn’t actually work very well. Fortunately, there was no sleeve to get all screwed up, but still, the edges were not at neat as they could have been because of this and the lining neck didn’t line up with the fashion neck because the lining should have been cut smaller. Next time, I’ll know to go with my gut on this one. I’ve also learned a valuable lesson about the home sewing market pattern pieces. heh. Nothing that in any ruined the final look, but this oversight did detract from the polished end result that I wanted. Anyway, cutting out the fabric… Because pictures are what folks look at here, not the text!
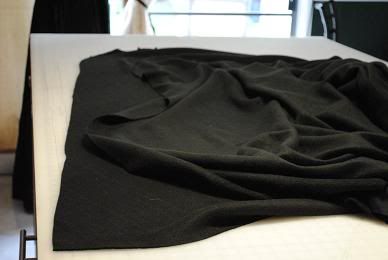
I debated whether or not to overlock the two cloaks in a contrasting thread already in the machine, or change out the thread to at least be in the same color family as the cloaks. Ultimately, I chose to go with the more dynamic contrasting thread. No one’s going to see it anyway, and I liked the festive look. Testing out the pieces, I threw them onto my crappy adjustable dress form (it has a stand, makes it useful) and was puzzled by the amount of literal shoulder built into the cloak. M pointed out that this would make the shoulders carry the weight of the cloak, not the neckline. Ooooo. And, indeed, it does just that. Good thing too, because each of these came out to be HEAVY, and HOT. Very toasty outter wear here. That hidden polar fleece really ratchets up the insulation factor of these cloaks, and they are pretty much wind proof also because of the combination of fabric choices. Pictured is my cloak with the fashion fabric underneath the lining.
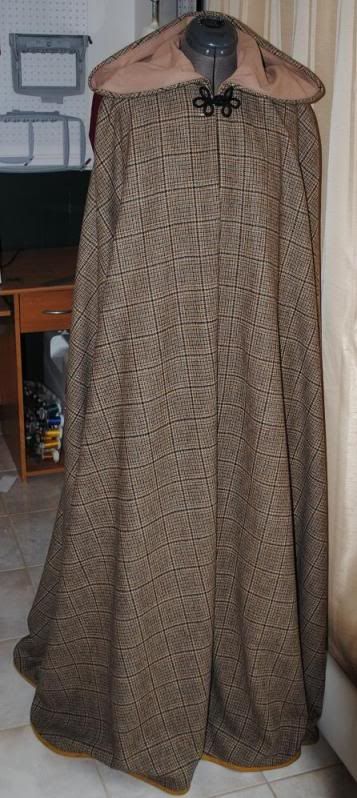
Overall, these things were really easy to put together. The only problem with them was that the lining was the same size as the shell, resulting in billowed linings which wanted to bulge out around the stay stitching and caused the neck lining to be roughly 1/4″ below the neck of the shell. Also, M’s cloak was (not surprisingly) too narrow in the shoulders for him. But then, it was a woman’s cloak pattern. heh. Here is the final version of my cloak:
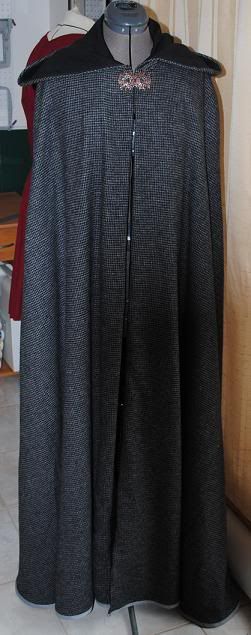
I like the grey bias tape along the bottom hem for a few reasons. One reason is the nice contrast. Another is that the bias tape is a stronger material than the fashion fabric, so hopefully the wear will be to the replaceable tape and not the rest of it. It’s also heavier, helping to give weight to the very bottom of the thing so that it moves nicely. I also love that clasp. I have a second one, and I was debating putting both on this cloak but that seemed like overkill.

One thing I did differently than the directions, other than the application of a stay stitch all along the edges to prevent the lining from being seen when the garment is closed, is that I did not hem the bottoms together. I had made a cloak long ago, and no matter how hard I tried, I just could not get the lining to hem together nicely. The lining would sag down at the bottom. Now I know why — the lining and shell were the same size. With that old lesson in mind, I just tiered the layers of the cloak so that they would not be seen. It worked out very nicely.
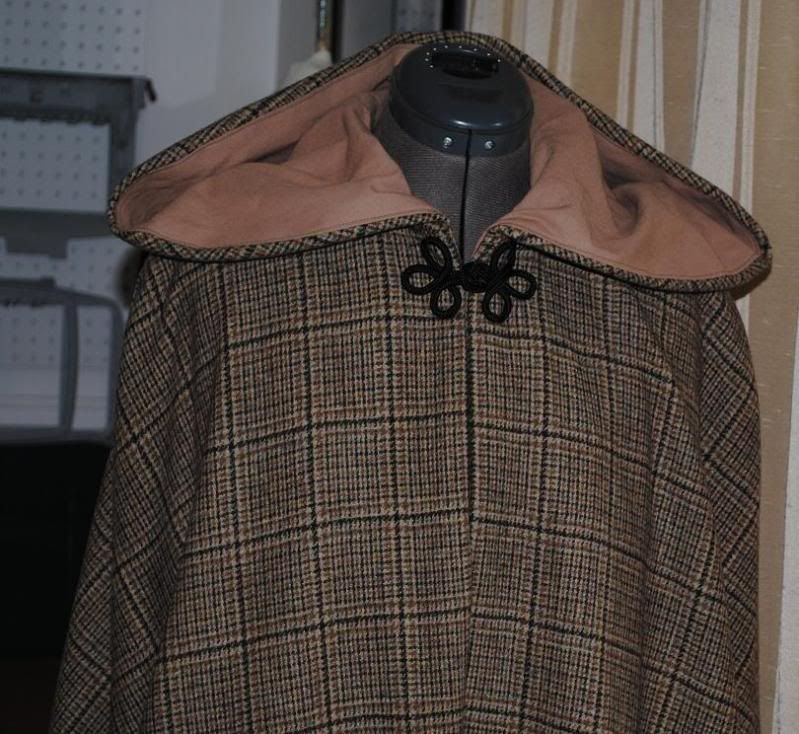
And here is M’s version. The interlining goes from the neck down, but was not included in the hood. Since I mentioned tiering the layers, here are the specifics. The hemline of the interlining is about 3 inches higher than the lining, which is about 1/2″ higher than the fashion.
Because these cloaks are intended for use at SCA events, I put a waterproofing on the lining. In case it rains, flip the garment inside out so that the heavier weave of the broadclothe combines with the waterproofing to keep the wearer dry. I figured I’d need a heck of a lot more water proofing to be effective on the wool or flannel. That feature hasn’t been tested yet. Again, these are freaking heavy cloaks, and they make marvelous blanket additions!
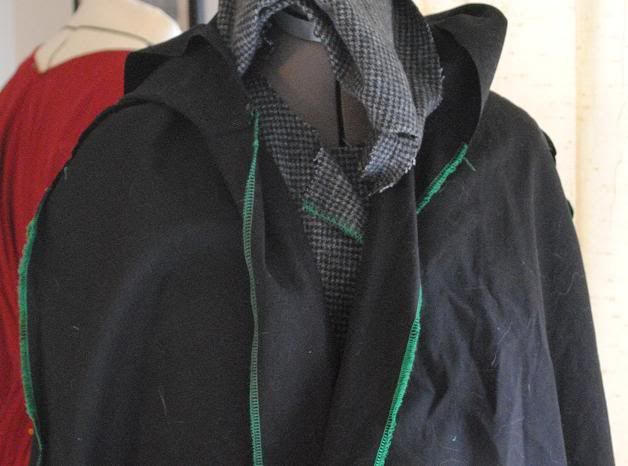
You can see the stay stitching nicely in the below picture along the edge of the hood, but if you notice there is no stitching visible on the fashion fabric down the center front where the stay stitching (stitched through the lining and into the seam allowance but not the fashion fabric) is perfectly doing it’s job of keeping the lining from sliding forward and being visible. I do so love stay stitching! I’m glad I learned that trick. It looks so much cleaner and neater than top stitching!
I’ll have to remake M’s. He hates that plaid fabric, and the shoulders really are too narrow. That means I’ll have to hem it higher, since it drags on the ground when I wear it. Fortunately, I have a whoooooooole lot more of that bias tape! But when I remake it, that means I’ll need a new pattern. And I can make a pattern for the lining and interlining as well. That should be an interesting comparison!

